INSTALL A DIESEL HEATER.
Another question I get far too often is, “How do you stay warm inside the bus?” How do I stay warm? Install a diesel heater.
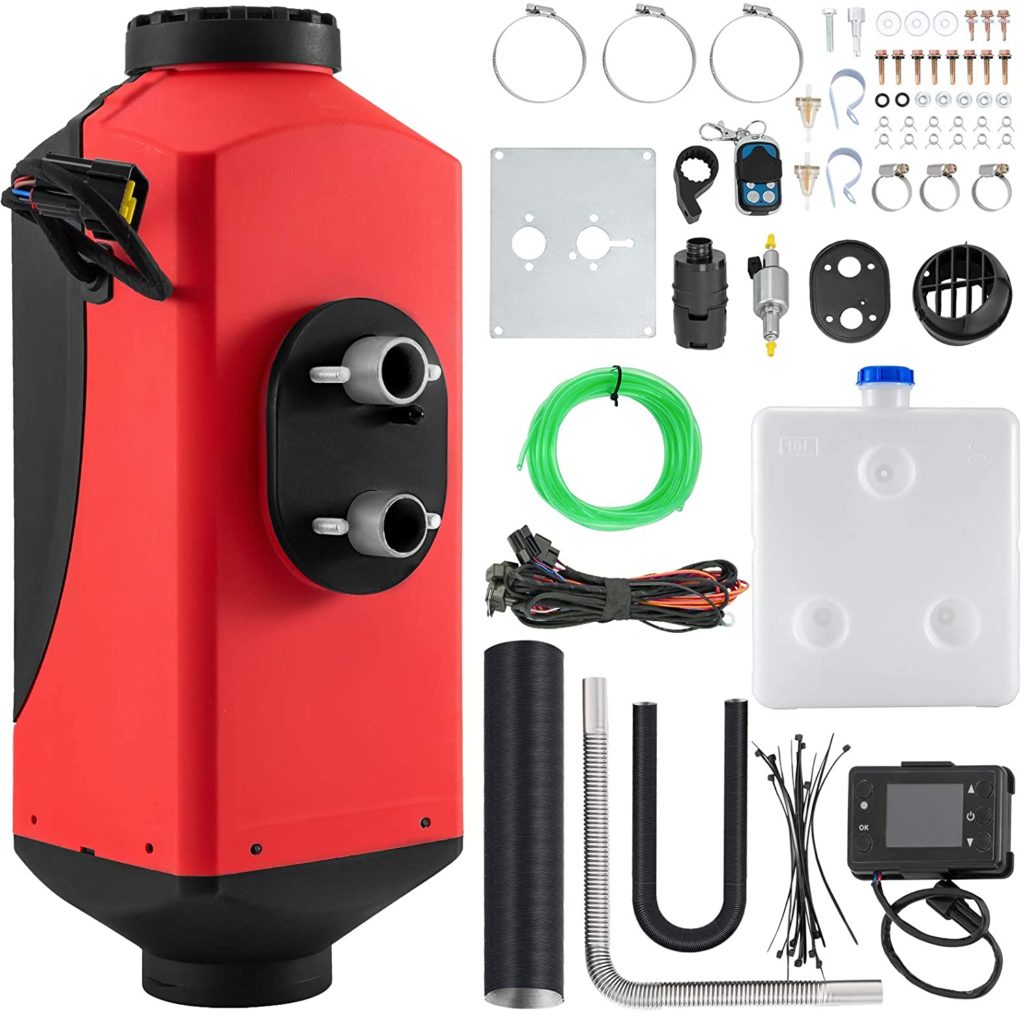
If you’re not familiar what a diesel heater is. Here’s the quick lowdown on them. Diesel heaters are a very inexpensive low energy consumption often used by vanlife and Skoolie community. They run on 12volts and diesel fuel while easily hooks directly into an existing solar system setup with minimal wiring. The particular heater I got comes with EVERYTHING (except tools) needed to install a diesel heater.
Like I said, “Super easy” to install. With one minor caveat, you have to cut a hole for air intake and exhaust. Once you’ve got past that its all easy peasy from there. Here’s how I went about it in the school bus.
Step 1. Where to Install a Diesel Heater and fuel tank.
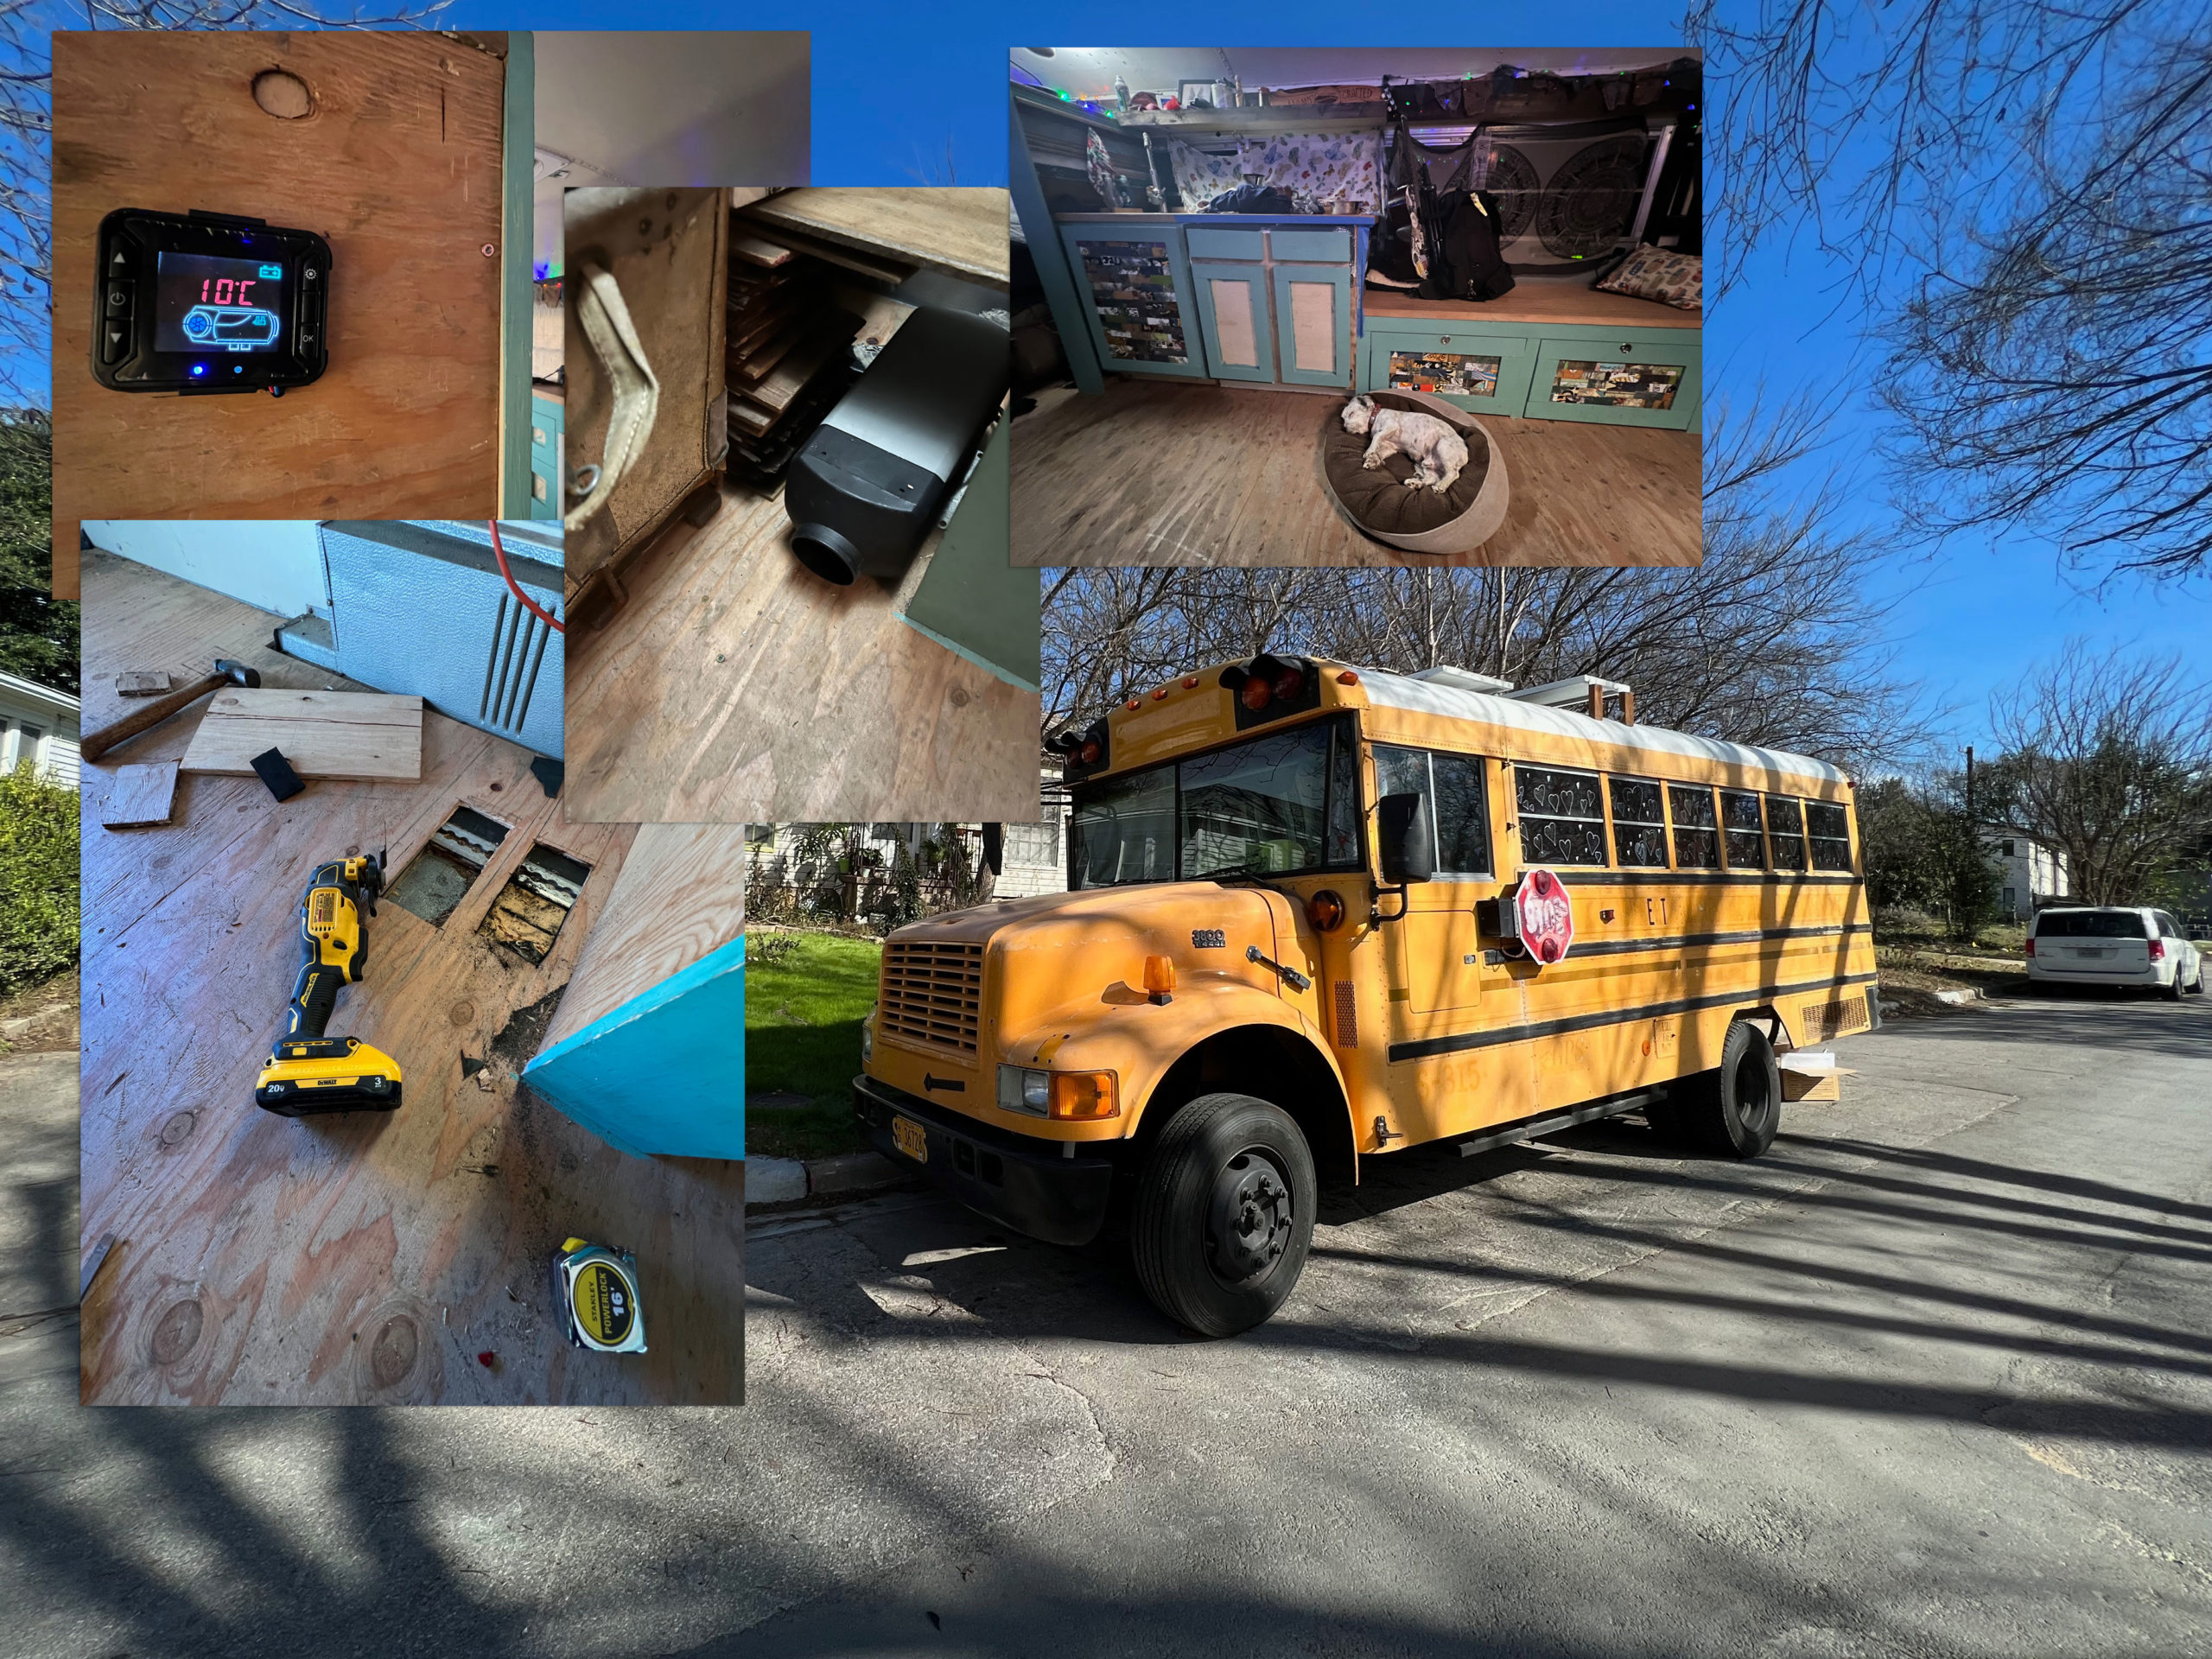
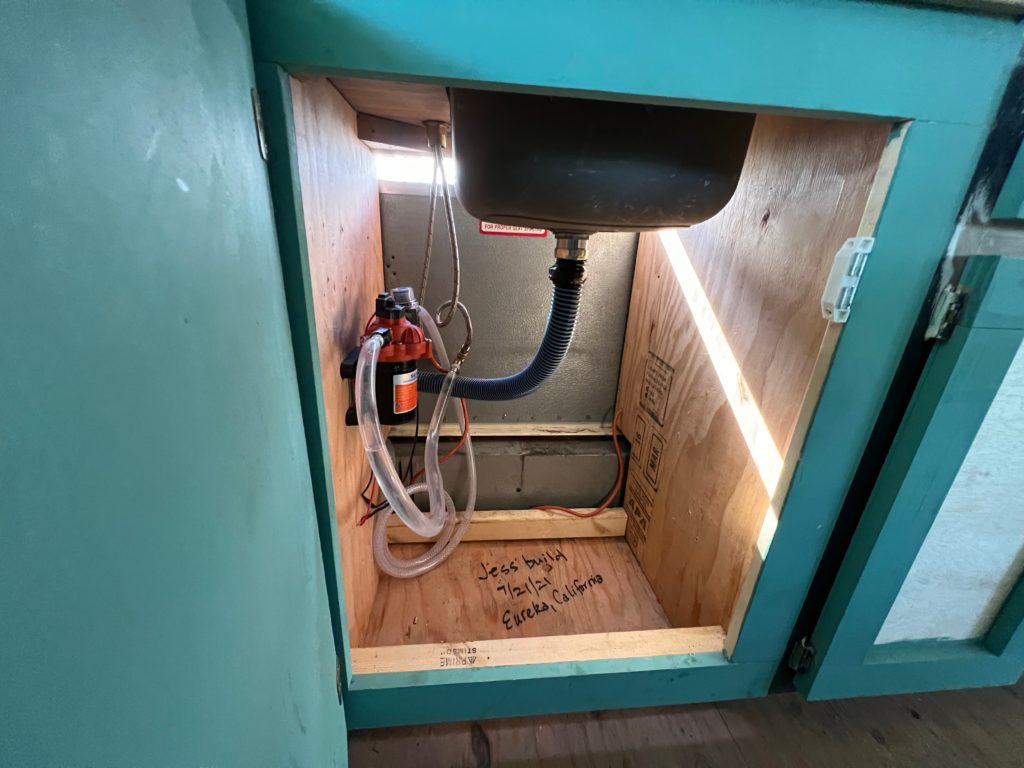
I actually got the heater a few weeks ago. One of the main reasons I didn’t install it right away was I wasn’t exactly sure where I wanted to mount the heater itself or where I wanted to put the fuel tank. The heater needs to have two holes cut through where ever its mounted for the heat exhaust and for fresh air intake. Also I had to make the decision where to mount the fuel tank, on the outside or inside the bus. After about two weeks of thinking about, Austin (where I’m parked) got a cold front that swept through. All I needed was ONE day of 20 degree weather to help with my decision on where to install everything. I decided I would install the heater on the floor next to my bed, cutting the holes through the floor and mounting the fuel tank under my sink on the right side wall.

Step 2. Cut the holes
I had a problem here. One, I wasn’t sure exactly where the old bus seat rail was or how thick the floor actually was.
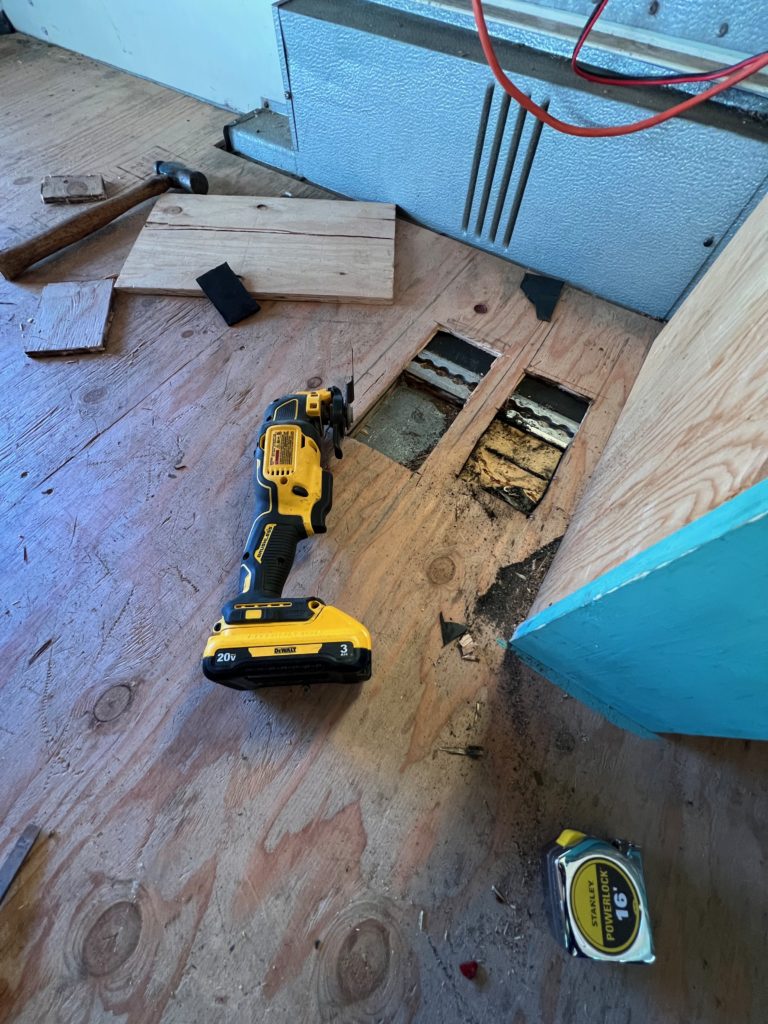

It took some time and some serious yoga positions to get the holes cutout. But wouldn’t you know it, I cut the original cut too far under my bed which would prevent from me from building a future project. So I figured it would be better off to move the heater about 4-5 inches to the right. I then ran into that rail which I needed cut out so the heater could fit properly. So I took the angle grinder to it.
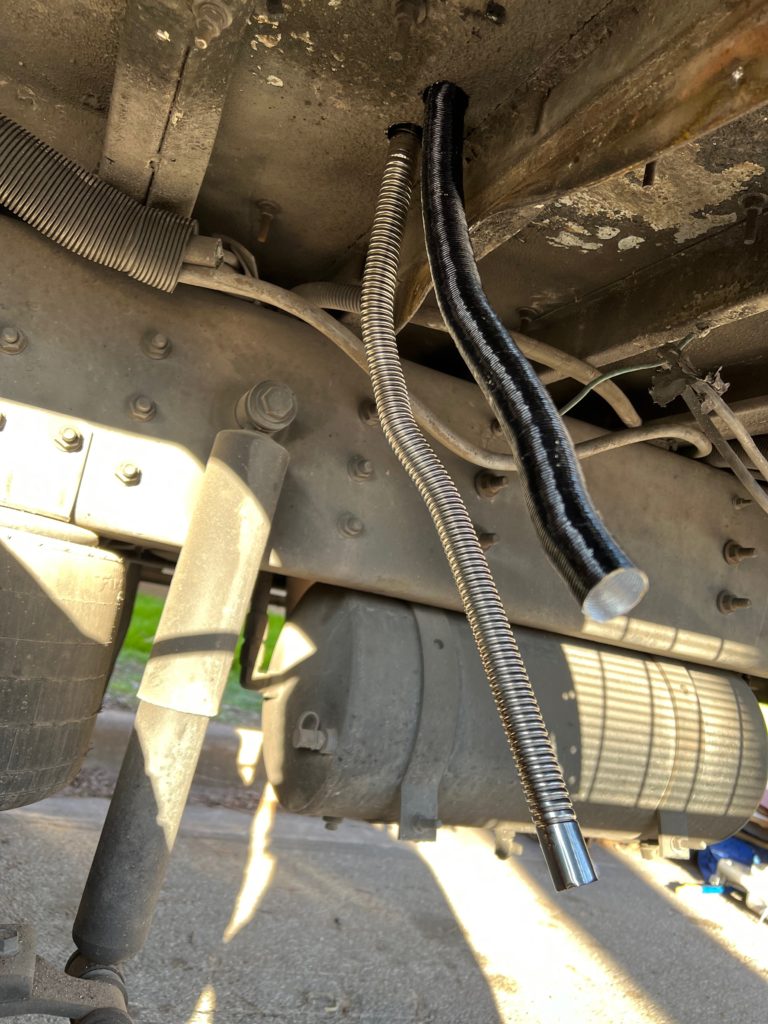
Step 3. Fit Heater and Mount Fuel Tank
The heater fit nicely in the holes I cut and you can’t even tell I had to move it. The exhaust and intake fit perfectly in between the braces under the bus too. Also the fuel tank fit snug under the kitchen sink right next to the toilet. I’m happy where the tank is. There’s a fuel pump about 6 inches from the tank feeding the diesel fuel to the heater. This pump “ticks” when it’s pumping. But being in the cabinet and with door closed I can barely hear it while it’s running.


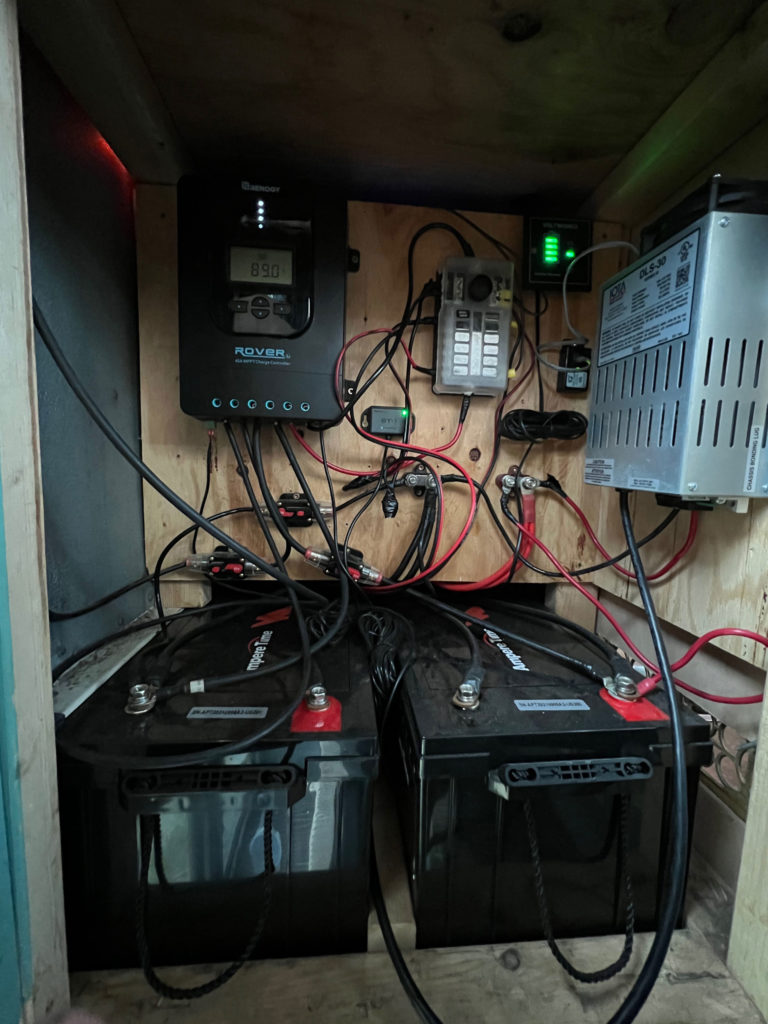
Step 4. Wiring
So, I learned something here. The wiring I used was a 12gauge wire. I’ve used this gauge wire many many times with other builds and worked every time. I needed to the run wire from the heater to the fuse block which is about 20 feet and didn’t realize it was too long for such a thin wire. With the bus being a larger space I didn’t plan on the wire not being able to support amperage fall off. I realized this after I connected everything up and was getting a low voltage error in the heater display. So I had to order some 8 gauge wire, rerun the new wire, hook and connect it all back up. Once I did that I was in business. Everything worked perfectly. No more errors, lesson learned.

Step 5. HEAT
Running the heater is easy. Oh, here’s something fun about the heater. The temp is in celsius only, you’ll have to get used to that. But that’s no big deal. There is one step before having heat, you’ll need to prime the line so you don’t burn out the glow plug. Once you’ve primed the lines turn the heater on by pressing the power button and set your desired temp. Starting up takes about 2-5 minutes for before it’ll be blowing hot air. You’ll notice on the display screen a pump icon turn on then a little bar indicator will appear in heater icon letting you know its heating up. This is also when you’ll be using the most energy, on start up. I’ve seen it pull about 7-10amps during this warmup stage then once it gets going it’ll average about 0.50-1.50 amps depending on high you set the temperature. And there you go, you got heat.