Our New Bus; Chapter Two
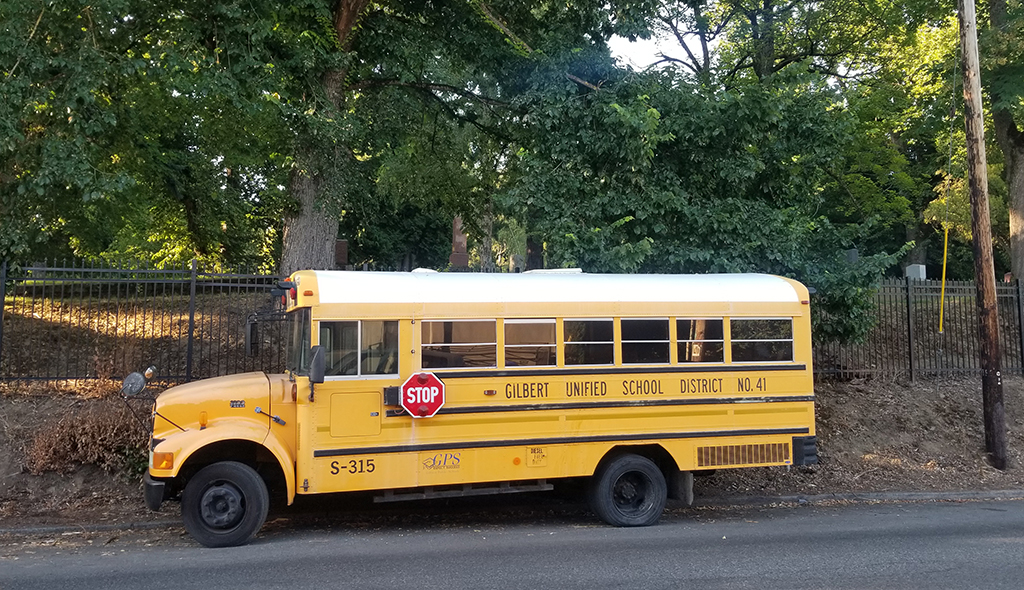
Once we got the bus back to Portland, the talked about challenges of building a bus in the city, became a reality. Starting with where to park this beautiful yellow beast. My flat is off a fairly busy, 2 lane, one-way street. Parking is allowed on both sides, but busses are also pretty damn wide. Thankfully, one side has a large dirt shoulder. And even more thankfully, we managed to find a spot right across the street from the flat so we could keep an eye on her.
Let the build (really) begin.
With Lou-Lou still in Burns, Oregon, we had a very small selection of tools. We had my tiny little tool box of basics; a hammer, screwdrivers, tape measures and picture hanging hooks. And the socket set that Joe bought at the coast. It turned out to be all we really needed to keep going. For a little while, that is. We continued with removing the seats and begun taking down the huge air conditioner units that hung on either side of the bus (the units didn’t work, we needed the ceiling space AND they were a huge eye-sore).

The rest of the seats came out really easy (including the wheelchair lift!) and we completely stripped them down to the metal so we could bring the frames and the lift to Far West Recycling. As daunting as removing and disassembling the seats seemed at first, it turned out to be the easiest part of the build. So far anyway.
Keeping Our Cool. Figuratively (and literally) speaking.
The air conditioners, on the other hand, were a complete nightmare. They’re unbelievably heavy. And awkward. And huge. Did I mention heavy? The fact that they’re also filled with Freon, didn’t escape our minds as Joe researched a ton on how the best way to completely delete the units from the bus would be. It turns out the way we did it wasn’t the best. I’ll keep it short and simple and just say that Joe, myself and the ceiling of the bus got a Freon shower. It was terrifying in the moment and I actually attempted to jump out the driver side window. Thankfully, nobody was hurt and we now have our very first ‘oh shit’ memory.
City; Schmitty
Once we got all the seats out, and accepted that we didn’t have the proper tools to take the AC units completely down, or do much more at all, we had to decide what we could do next. That left us with scraping off all the lettering. Legally, it cannot say ‘school’ anywhere on the bus. At least in Oregon that is. So again, we did some research (YouTube and Google will become your bible when building out a bus) and found that the best way to remove all the decals was with a very thin scraper, Goo-Gone, time and lots and lots of good ol’ elbow grease. Needless to say, decal removal is not only way more difficult that it looks, it also became yet another task that we could only partially complete in the location that we were with the tools that we had.
Heading South
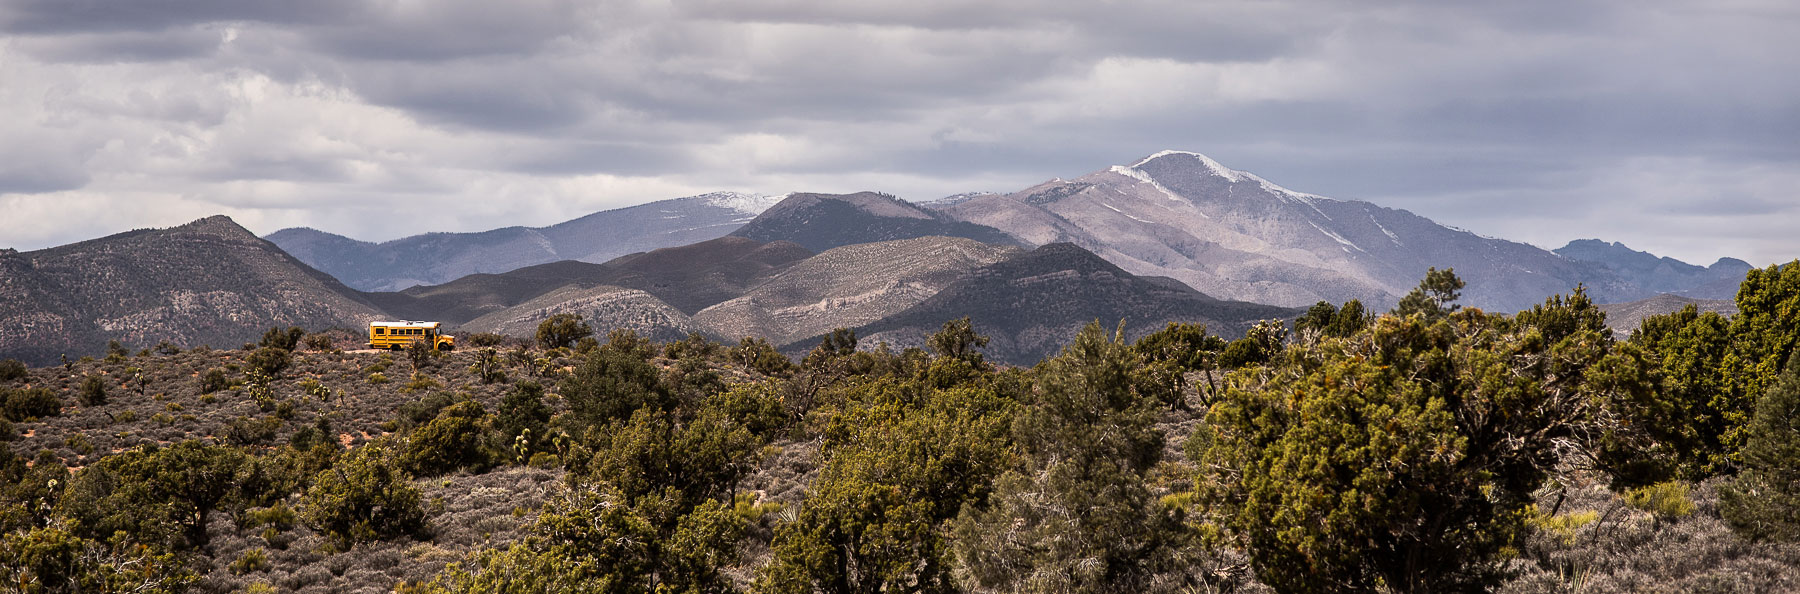
Given all the obstacles that we were encountering in the city including an unprecedented heat wave sweeping Portland, we decided that the best place to continue the build would be at my Uncles property in Eureka, California. There we would have time, space, cooler weather, tools and a beautiful place to relax after each day of building.
NEXT!
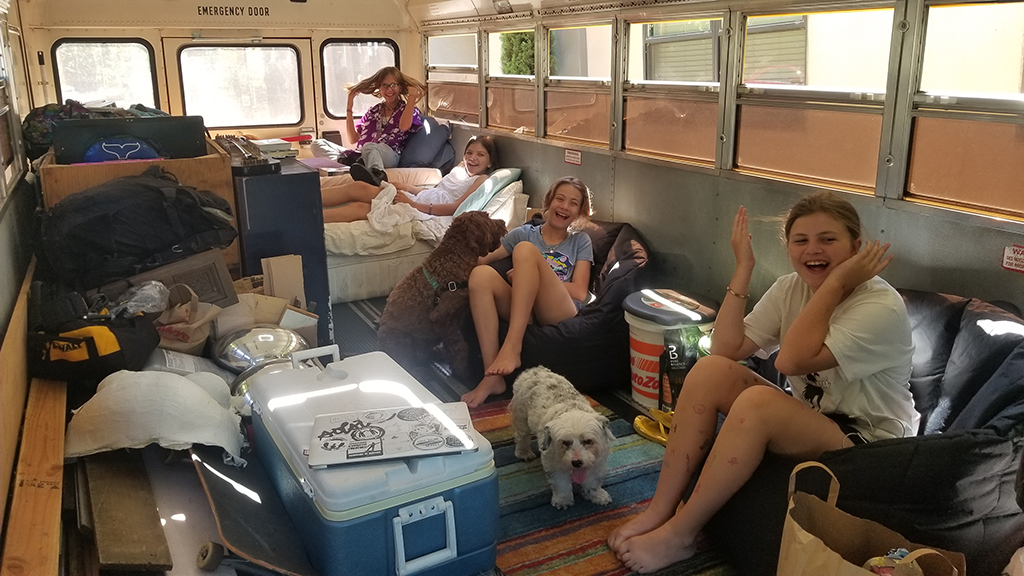
Be sure to check back for Chapter 3. We’ll tell you all about our mini road trip South with 4 kids, 2 dogs, and a school bus filled with all the things that we’d need for 3 days on the road and the beginnings of a bus build! Things are gonna start moving FAST!